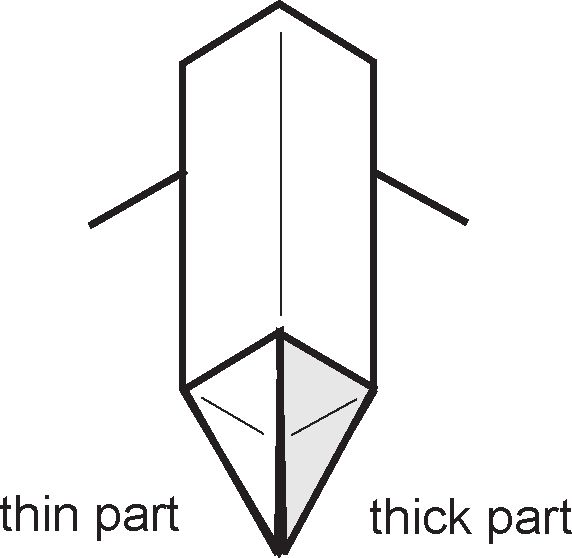
6. Focus on one of the flaps, standing it up.
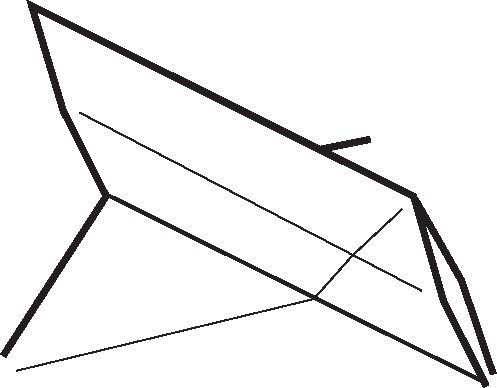
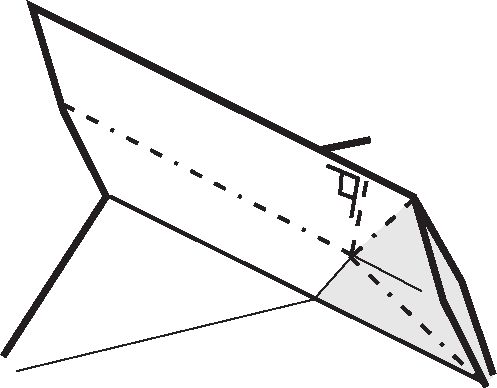
7. Flatten the flap, squashing the shaded area. Note that the squash is not symmetrical!

Online collections
monedastodas.com
All collections » Origami » Snow Flake
Start with a white hexagon. For best effect, use a sheet of translucent paper, such as tracing paper.

2.
4.
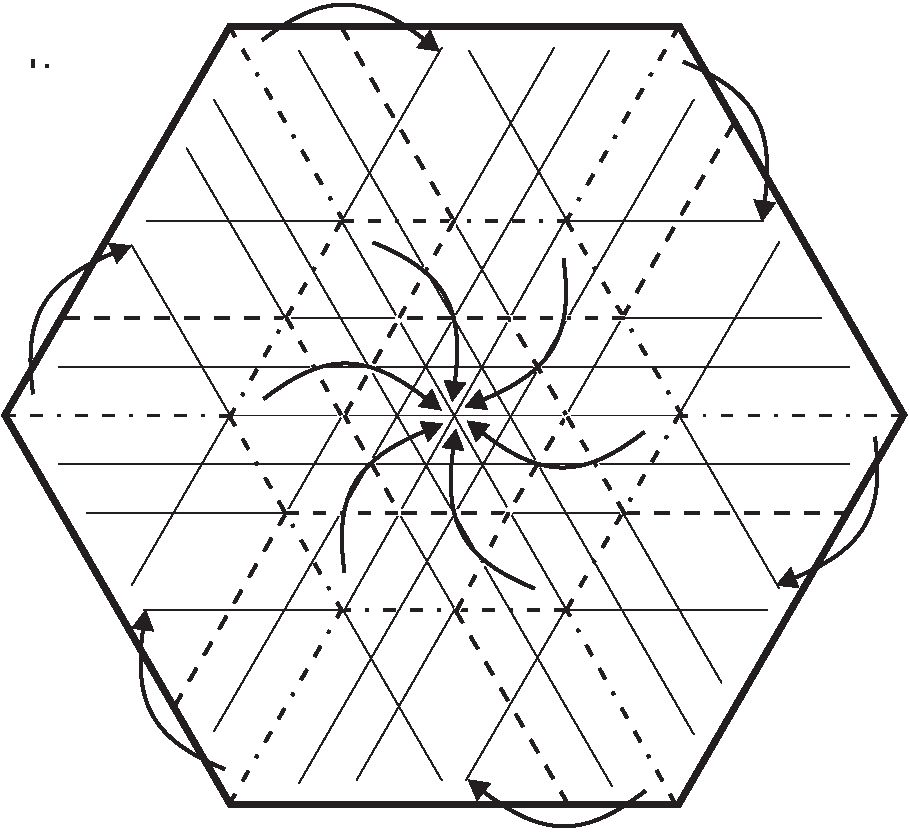
This collapse is similar to the collapse that forms the centre of the sand dollar in Origami Sea Life, but cannot be done in the manner shown there because it generates extra creases (which detract from the transparent effect of the snowflake.
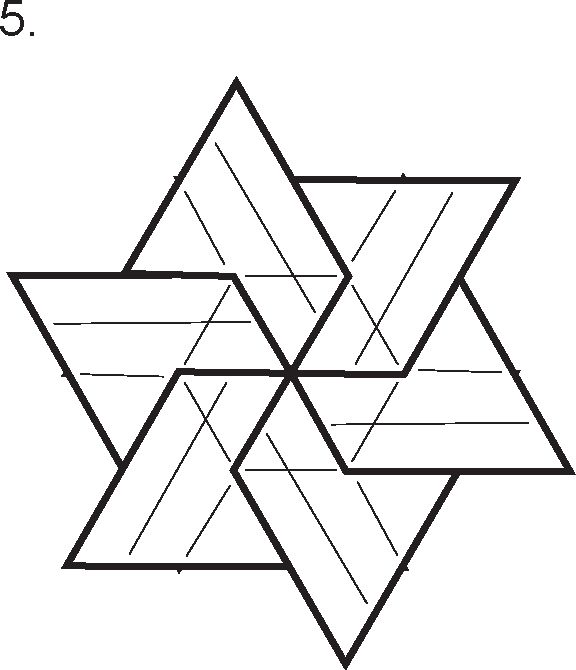
6. Focus on one of the flaps, standing it up.

7. Flatten the flap, squashing the shaded area. Note that the squash is not symmetrical!

8. Result of previous step. Repeat on other five flaps, alternating the thick part ofthe squash folds.
|
9. Swivel. (Shaded areas are thicker.) AA \/ / V %\A y y//\\\X 11. Repeat steps 9 & 10 five times. v\Vy X? x/z\\x 13. The centre completed. Turn over. ^Va/X/\q |
a\\)/A V/y^X/
//AX\\
/\ /X /\ /\ \ JT 1 \ t Z——\/——X |
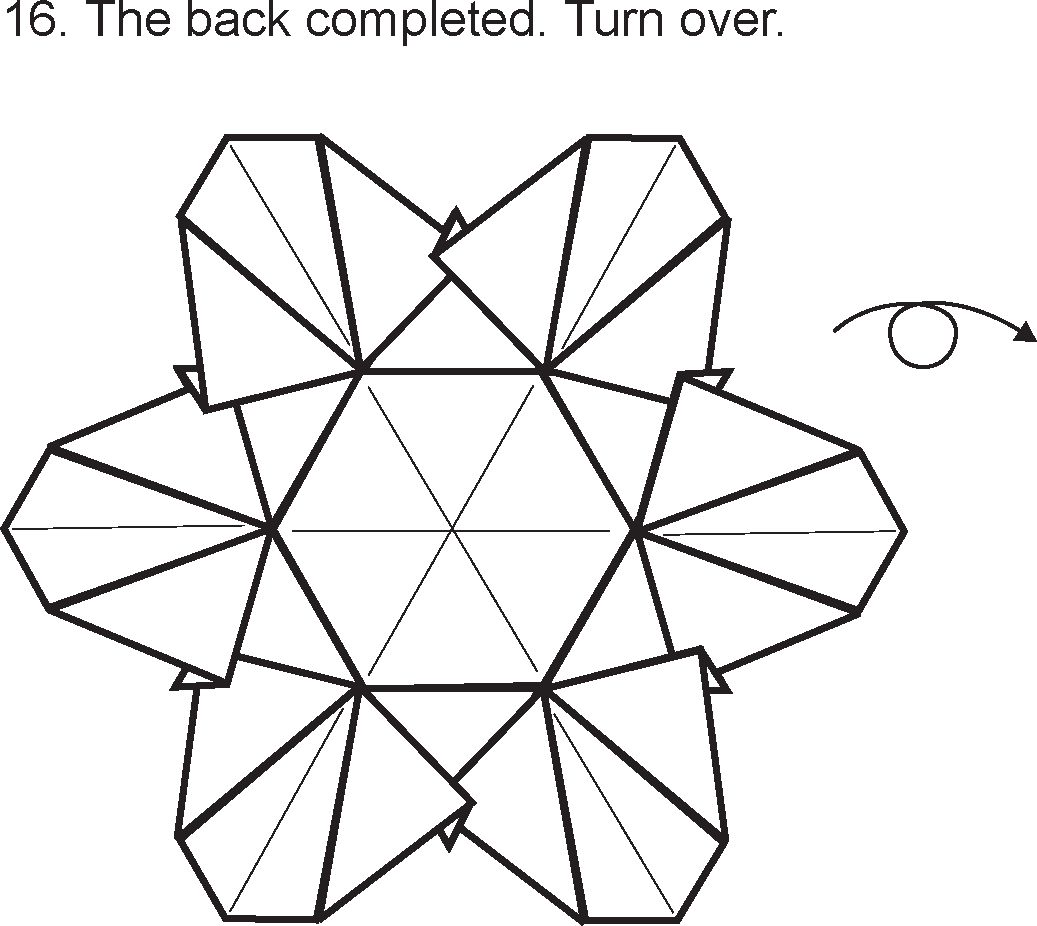
15. Repeat 11 times.
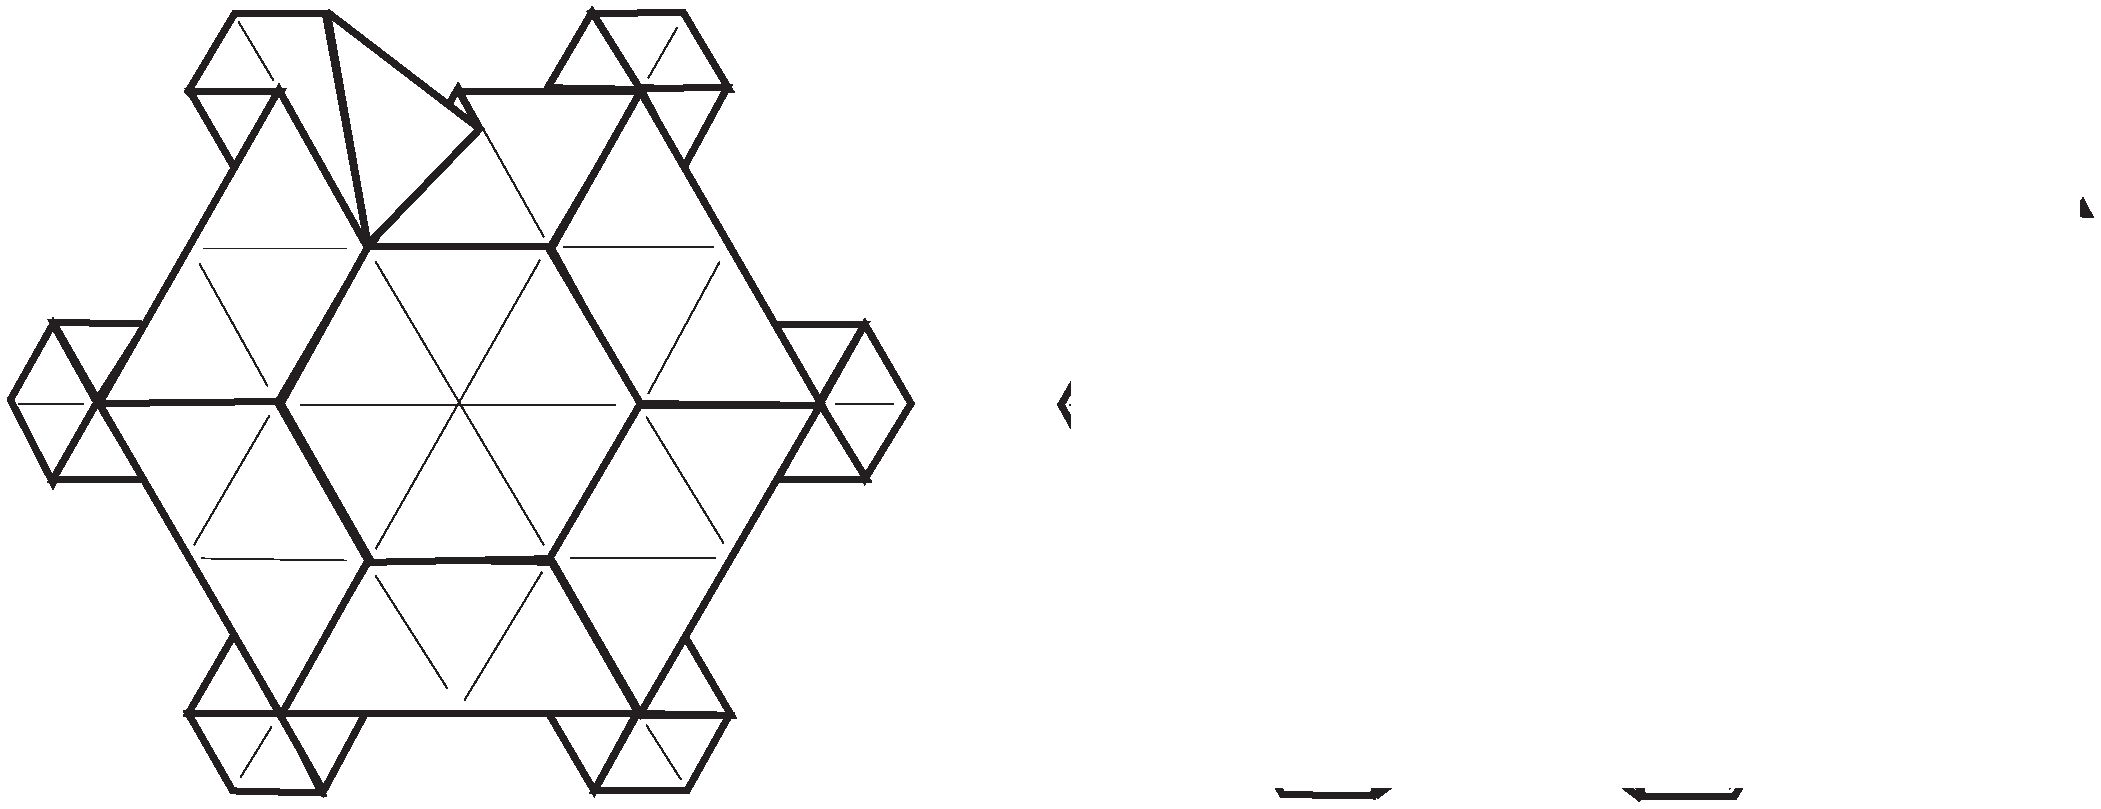
17. The completed snowflake.
Make sure to look through it at a light source.
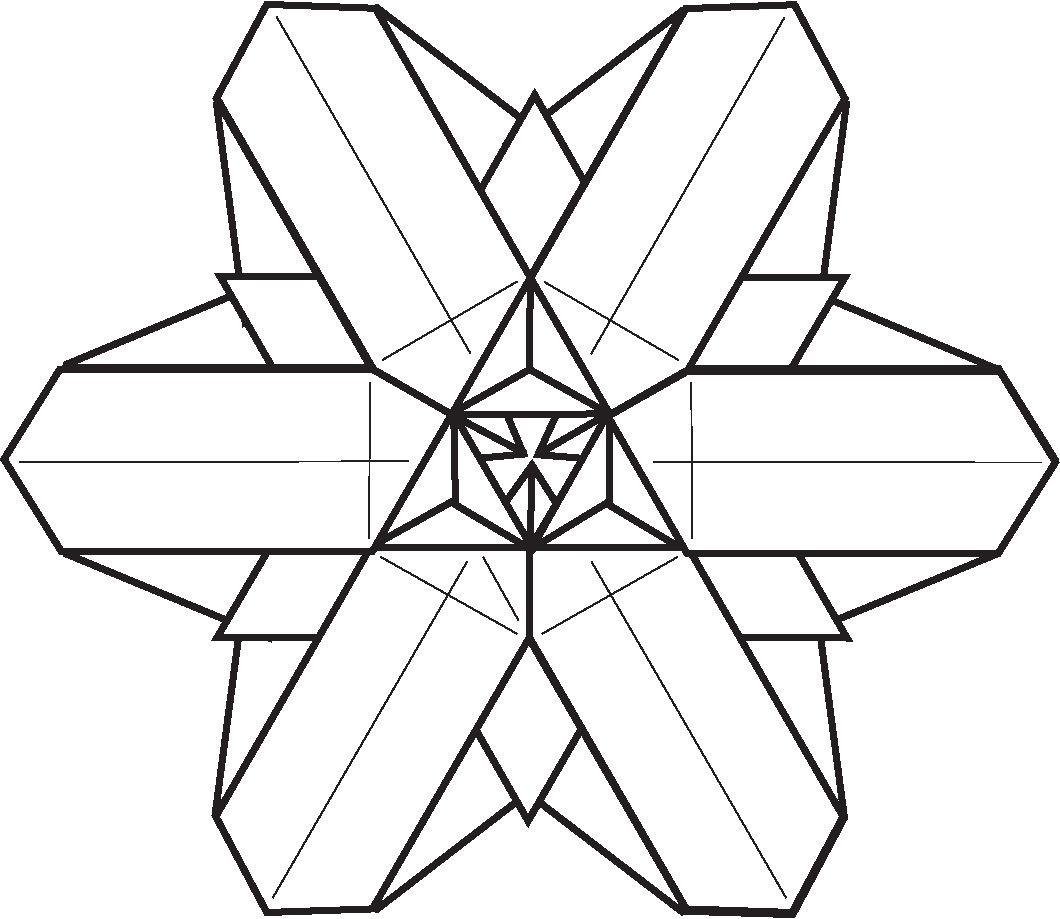
Notes: It is quite possible that someone has already done this snowflake. Anyone who has ever explored the symmetries of hexagonal paper is likely to have done some snowflake designs, and these are, necessarily, similar. I know that Yoshizawa has done similar work, and I've seen similar ideas by Dr. Suzuki at the Origami Tanteidan convention in the summer of 1996. There are probably others. Still, this was an original effort, the result of a challenge by Doug Philips to design a snowflake for the cover of Imagiro. It is one of over 30 different designs, the result of an effort to simplify some of the more complex ideas (because Doug would have to fold 25 of them, and also to ease my diagramming). I hope you enjoy it, and that you will use it as a stepping stone to designing your own snowflakes.
Download PDF file with this instructions for printing